
Mix Engineer Workflow Efficiency Tips That Save Hours
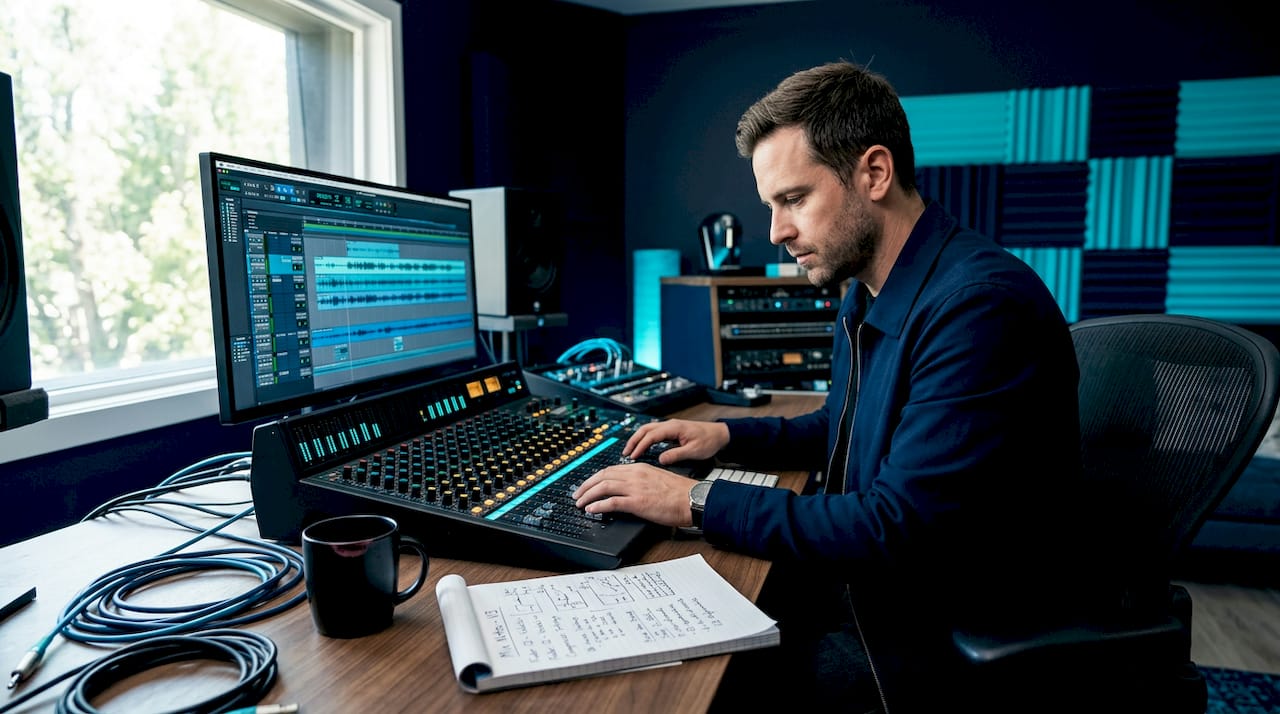
Mix engineer workflow efficiency is defined as the set of practices that reduce wasted time during a session without sacrificing the quality of the final product. Most engineers lose hours per project to avoidable friction: hunting for mislabeled tracks, rebuilding routing from scratch, or chasing gain issues that compound through a chain. The fix is not working faster. It is working smarter through DAW templates, disciplined session organization, and consistent signal flow habits. This article covers the most effective techniques for improving mix engineer productivity, from template design in Pro Tools and Logic Pro to client revision management.
1. Mix engineer workflow efficiency tips: start with a DAW template
A DAW template is the single highest-return investment in your workflow. Building a template with pre-labeled buses, routing, and basic utility plugins saves 20 to 30 minutes per session, which adds up to more than 20 hours annually. That is a full workweek returned to you without changing how you mix.
Keep templates lean. The recommended track count is 30 to 50 tracks for fast loading. Templates with 120 tracks and heavy plugin instances can take 45 seconds to open, which kills momentum before a single fader moves. Pre-insert lightweight utility plugins like a trim or gain plugin at the top of each channel strip, but leave CPU-heavy processors such as convolution reverbs or linear phase EQs out of the template entirely.
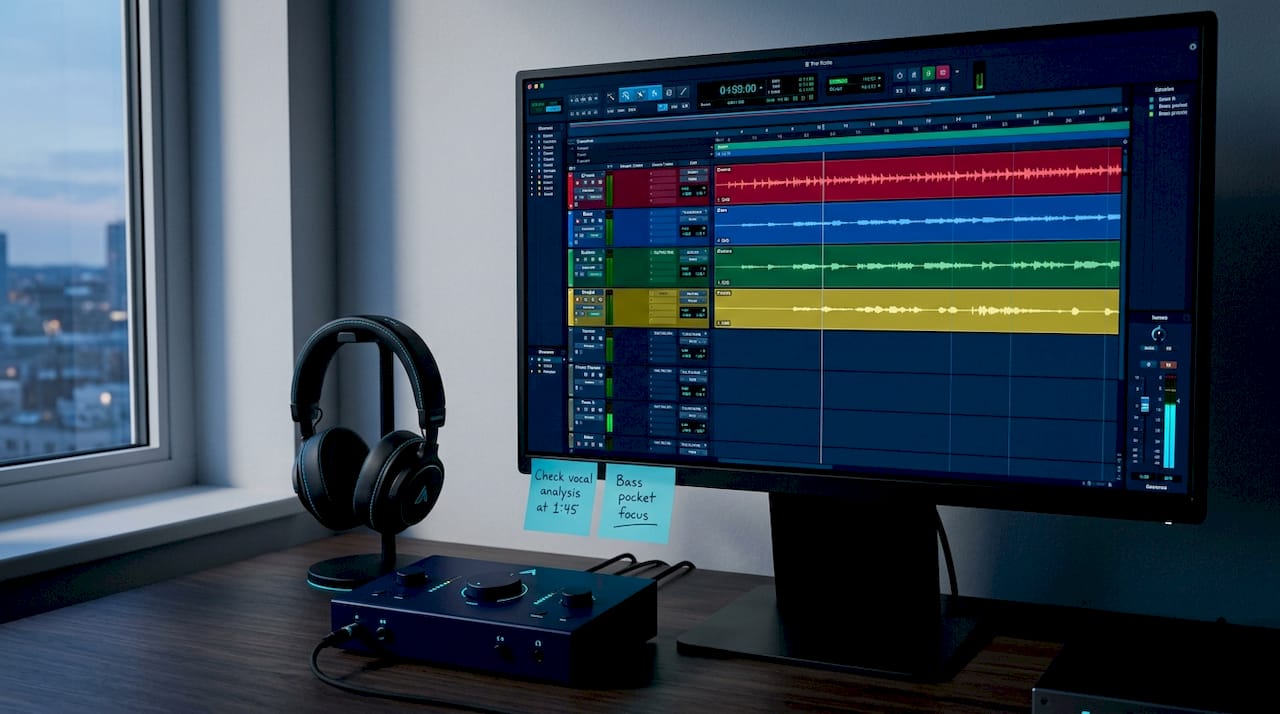
Organize tracks by instrument group with consistent naming and color coding. Drums go in one folder, bass in another, guitars in a third. Use the same structure every time so your hands know where to go without your eyes having to search. Test your template on a real session every few months and trim anything you never use.
Pro Tip: Create separate templates for different genres or session types. A template for a full band recording differs from one for an electronic production. Keeping them distinct prevents you from deleting irrelevant tracks at the start of every session.
2. Session organization best practices for clarity and speed
A well-structured session can save over two hours per mix by eliminating time spent searching for files and setting up routing. That time compounds across a full project slate. The engineers who move fastest are not the ones with the fastest computers. They are the ones who never have to stop and think about where something is.
Use a consistent folder and file naming convention across every project. A practical structure looks like this:
- Audio (raw recorded files, organized by date or take number)
- MIDI (instrument and controller data, named by part)
- Exports (stems, rough mixes, client deliverables)
- References (commercial tracks used for comparison)
Track naming should combine a number and a descriptor, such as “01 Kick In,” “02 Kick Out,” or “14 Lead Vox.” The number forces alphabetical sorting to match your physical or logical signal flow. Descriptors tell you the source at a glance without opening a clip.
Color coding by instrument group speeds track identification far more than color coding by mood or feel. A standard system: drums in dark blue, bass in purple, guitars in green, keys in orange, vocals in red. Apply it once in your template and never decide again.
Place markers at every major song section: intro, verse, pre-chorus, chorus, bridge, outro. In Logic Pro, Pro Tools, and Ableton Live, markers are searchable and clickable, cutting navigation time on long sessions to near zero.
Pro Tip: Save a new session version at the start of each revision round rather than overwriting the previous file. Label versions with dates and round numbers, such as “MixV3_20260415_R2.” You will thank yourself when a client asks to revert to an earlier version.
3. Efficient gain staging for consistent mixes
Gain staging is defined as the practice of managing signal levels at every point in the signal chain to maintain headroom and prevent distortion. Proper gain staging means keeping input peaks between negative 12 and negative 6 dBFS on individual tracks, with the master bus sitting around negative 6 to negative 3 dBFS before any limiting. These targets keep every plugin in your chain operating in its intended range.
Poor gain staging does not just cause clipping. It changes how plugins behave. A compressor fed a signal that is 10 dB too hot will react differently than intended, producing pumping or distortion that sounds like a creative problem when it is actually a technical one. Catching it early saves you from chasing phantom mix issues for hours.
Place a trim or gain plugin at the very top of each insert chain. This gives you a single, clean adjustment point before any processing touches the signal. When you add or remove a plugin later and levels shift, you adjust the trim rather than hunting through the chain.
Gain staging is an ongoing task, not a one-time setup. Continuous gain checks throughout the session prevent late-stage crashes and clip fixes that force you to rebuild sections of the mix from scratch.
For a deeper look at how gain decisions affect your final product, the digital gain staging guide on the Mixanalytic blog covers the five most common problems that surface at mastering when headroom is mismanaged.
4. Using buses, submixes, and send/returns to cut CPU load
Bus routing is the practice of routing multiple tracks to a shared channel for group processing or effects. Routing tracks to a shared reverb or delay bus improves CPU efficiency and mix coherence simultaneously. Running a single reverb instance on a return channel and sending multiple tracks to it costs a fraction of the CPU that individual inserts on each track would require.
Set up submixes by instrument group: a drum bus, a bass bus, a guitar bus, a vocal bus. Each submix gives you single-fader control over an entire group, which makes broad balance moves fast and precise. You can also apply group compression or saturation to the bus itself, which glues the group together in a way that per-track processing cannot replicate.
Here is a comparison of two common approaches to reverb in a mix session:
| Approach | CPU cost | Mix coherence | Control |
|---|---|---|---|
| Insert reverb on each track | High (one instance per track) | Lower (each reverb differs) | Per-track only |
| Shared reverb return bus | Low (one instance total) | Higher (all tracks share one space) | Single send level per track |
Printing or freezing tracks with finalized effects reduces real-time processing requirements further. Once a synth pad or drum sample is exactly where you want it, freeze it in Logic Pro or commit it in Ableton Live. You free up CPU headroom for the tracks still in motion.
Pro Tip: Build a parallel compression bus into your template from day one. Route your drum bus to a heavily compressed parallel channel at a low level. The blend is already there when you need it, and you never have to build it mid-session.
5. Streamlined client revisions and collaboration methods
Client revisions are where workflow efficiency either holds or collapses. Timestamped, categorized feedback with defined revision round limits speeds up cycles and reduces confusion on both sides. Without structure, revision notes arrive as voice messages, scattered emails, and vague adjectives that cost you 30 minutes of interpretation before you touch a fader.
Ask clients to submit notes in a single channel, whether that is a shared Google Doc, a dedicated Slack thread, or a platform like Notion. Categorize incoming feedback into five buckets:
- Vocal balance and clarity (level, presence, intelligibility)
- Low end (kick and bass relationship, muddiness, sub energy)
- Effects (reverb length, delay timing, spatial placement)
- Tonal balance (brightness, harshness, warmth across the full mix)
- Overall level and dynamics (loudness, punch, compression feel)
Set a defined number of revision rounds upfront, typically two or three, with a realistic turnaround time for each. This is not just a business practice. It forces clients to consolidate feedback rather than sending notes in waves, which protects your session continuity and mental focus.
For remote sessions, prepare a reference mix with measure numbers or timecode markers noted in your feedback document. When a client says “the chorus feels thin,” you can respond with “measure 33, the guitar bus at negative 2 dB” rather than reopening the session blind.
Hardware-centric workflows also reduce friction during revision sessions. Assigning faders on a control surface like a Native Instruments Komplete Kontrol or an Avid S1 to your main buses means you make broad balance corrections in real time without touching a mouse, which keeps revision sessions moving at conversation speed.
Key takeaways
Efficient mixing is built on structure: templates, gain discipline, and organized sessions compound into hours saved per project and fewer errors at delivery.
| Point | Details |
|---|---|
| DAW templates save 20+ hours annually | Keep templates at 30 to 50 tracks and avoid heavy processors to maintain fast load times. |
| Color coding by instrument group speeds navigation | Use a fixed color system: drums blue, bass purple, guitars green, keys orange, vocals red. |
| Gain staging targets prevent late-stage rework | Keep track peaks at negative 12 to negative 6 dBFS and master bus at negative 6 to negative 3 dBFS. |
| Shared reverb buses cut CPU load significantly | One reverb return instance replaces per-track inserts and produces more cohesive spatial results. |
| Structured revision rounds protect session continuity | Categorized, timestamped feedback with defined round limits reduces confusion and turnaround time. |
Why efficiency without flexibility is just a faster dead end
I have spent years watching engineers build beautiful templates and then mix every project the same way because the template made it too easy not to. The template becomes the mix before the session even starts. That is the trap no one warns you about.
The insight from Black Rooster Audio’s workflow retrospective resonates with me: templates can lock you into stale habits if you treat them as finished products rather than starting points. I update mine after every project where I found myself working around it rather than with it. That friction is data.
Session organization matters more than most engineers admit, especially when you are collaborating. A session that only you can navigate is a liability the moment a second engineer touches it. I learned this the hard way on a project where a co-mixer spent 40 minutes decoding my track naming before doing any actual work. The fix took me 20 minutes to implement across my template. It has never happened again.
The efficiency tips in this article are not about mixing faster for its own sake. They are about removing the friction that pulls your attention away from the creative decisions that actually determine whether a mix is good. Speed is a byproduct of clarity. Build clarity first.
— Uygar
How Mixanalytic helps you catch problems before they cost you time
Every efficiency gain in your session setup is undermined if you miss a technical issue that surfaces at mastering. Mixanalytic’s free AI mix analyzer runs 17 analysis modules covering frequency balance, dynamic range, stereo field, genre fit, and mood in minutes, not hours. It gives you the kind of objective read on your mix that used to require a second set of ears you had to schedule and pay for.
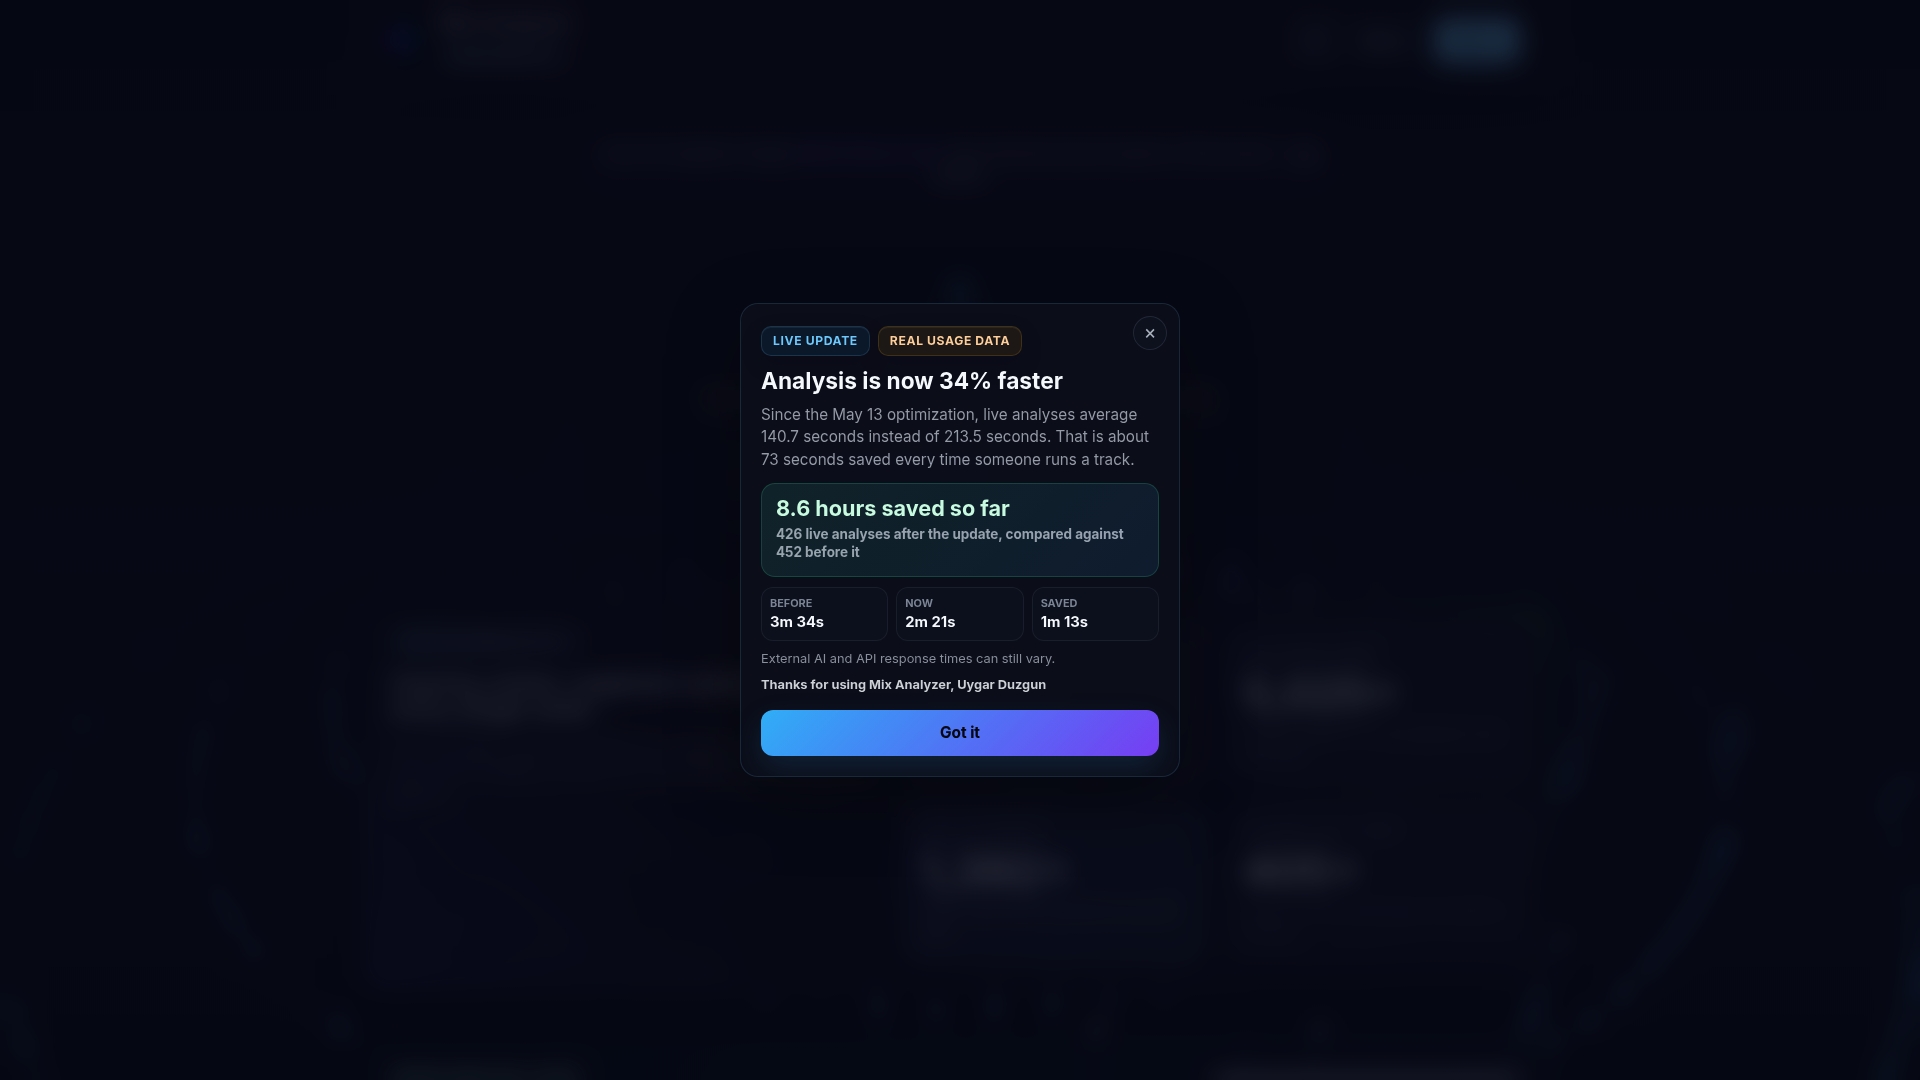
For engineers running high volumes of projects, token packs and the Supporter plan at $25 per month make it practical to analyze every mix before delivery, not just the ones you are uncertain about. Catching a low-end buildup or a stereo imbalance before the client hears it is the most efficient revision you will ever run. Try the free tier and run your next mix through it before you send.
FAQ
What is the fastest way to improve mix session speed?
Build a DAW template with pre-labeled buses, routing, and trim plugins already in place. A well-built template saves 20 to 30 minutes per session and eliminates repetitive setup entirely.
How many tracks should a DAW template have?
The recommended range is 30 to 50 tracks. Templates above 100 tracks with heavy plugin instances load slowly and create CPU bottlenecks before you start mixing.
What are the correct gain staging targets for mixing?
Keep individual track input peaks between negative 12 and negative 6 dBFS, with the master bus sitting at negative 6 to negative 3 dBFS before limiting. These targets keep every plugin operating in its intended range.
How do shared reverb buses improve mix engineer productivity?
A single reverb return instance handles all sends from multiple tracks, cutting CPU load compared to per-track inserts and producing a more cohesive spatial sound across the mix.
How should client revision notes be organized for efficiency?
Ask clients to submit all notes through a single channel and categorize feedback into vocal balance, low end, effects, tonal balance, and overall dynamics. Define revision rounds upfront to prevent open-ended feedback cycles.