
Types of Audio Effects in Mixing: A Producer’s Guide
Types of audio effects in mixing are distinct categories of signal processors that shape, modify, and enhance audio in specific ways, making them the core toolkit for every producer, musician, and audio engineer. Knowing the difference between a reverb send and a compressor insert is not a technicality. It determines whether your mix sounds professional or cluttered. This guide breaks down every major effect category, from time-based and modulation effects to EQ, dynamics, saturation, and spatial tools, with routing logic and plugin examples for each. Whether you work in Logic Pro X, Ableton Live, or Pro Tools, these principles apply directly to your sessions.
1. Types of audio effects in mixing: time-based effects
Time-based effects are the most spatially powerful tools in any mix. Delay-based effects create duplicate copies of the original signal at controlled time gaps, producing echoes and a sense of space that no other processor can replicate. The three most common subtypes are standard delay, multitap delay, and ping-pong delay. Standard delay produces a single repeat; multitap fires multiple repeats at different intervals; ping-pong bounces the signal between left and right channels for rhythmic movement.
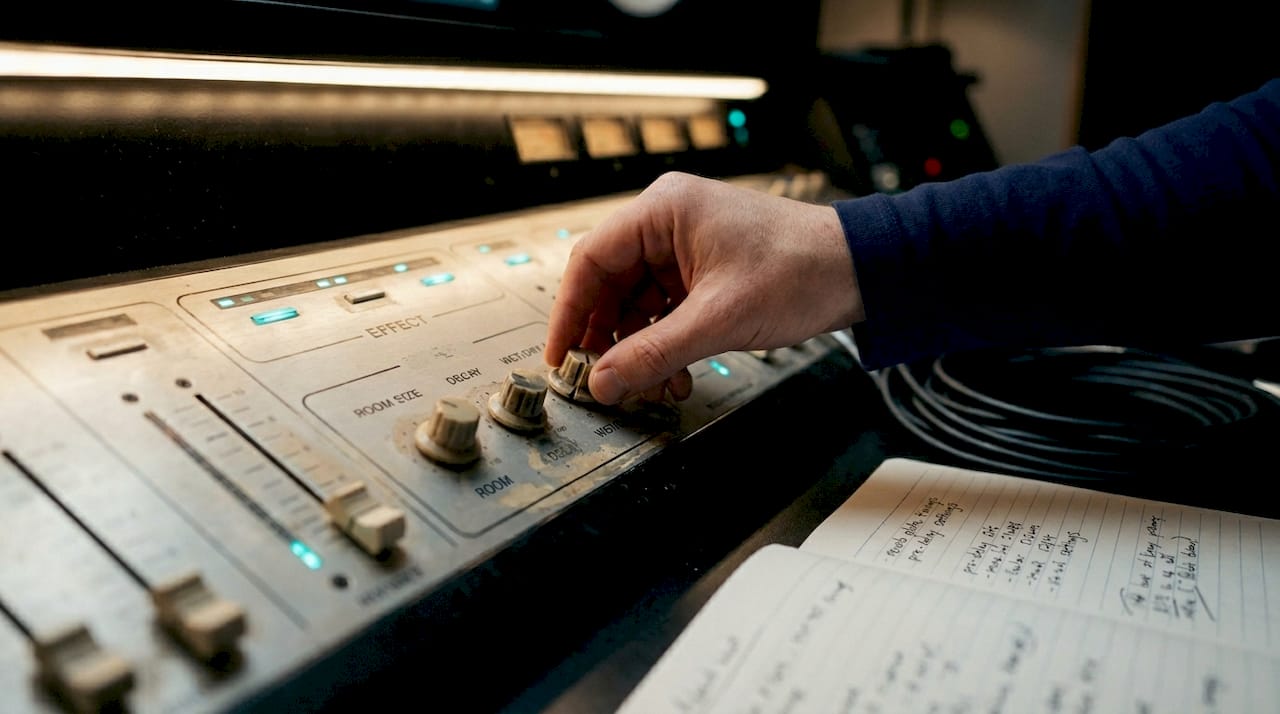
Reverb is a specialized form of delay that simulates acoustic environments by generating thousands of closely spaced reflections. Plugins like Valhalla Reverb and SoundToys EchoBoy are industry staples for these tasks. Delay and reverb are most effectively configured as send/auxiliary effects rather than inserts, which means multiple tracks share a single reverb instance. This preserves CPU resources and keeps the spatial character consistent across your mix.
| Delay type | Delay time | Primary use |
|---|---|---|
| Standard delay | 50–500 ms | Echo, slapback, rhythmic depth |
| Multitap delay | Variable, multiple taps | Complex rhythmic patterns |
| Ping-pong delay | 100–400 ms per side | Stereo movement, width |
| Reverb | Milliseconds to seconds | Room simulation, depth |
Pro Tip: Sync your delay time to the song’s BPM using the formula 60,000 divided by BPM in milliseconds. A tempo-synced delay at an eighth-note value locks the repeats to the groove and adds rhythmic interest without cluttering the mix.
2. How modulation effects add texture and movement
Modulation effects work by duplicating the audio signal and varying the copy’s pitch, phase, or timing with a low-frequency oscillator (LFO), then blending it back with the original. The result is movement and richness that static processing cannot produce. Chorus uses delay times of 20 to 50 ms, while flanger operates in the 0.5 to 15 ms range. That timing difference is what gives chorus its lush, thickening quality and flanger its metallic, jet-like sweep.
Phaser shifts the phase of specific frequency bands rather than the entire signal, creating a swirling, notch-filter effect. Vibrato modulates pitch only, while tremolo modulates volume. These are not interchangeable. Using vibrato on a lead vocal adds expressive pitch movement; tremolo on a guitar creates a pulsing, rhythmic amplitude effect. Both are routed as inserts because they alter the core character of the signal rather than adding a parallel layer.
Key parameters across all modulation effects are rate (how fast the LFO cycles), depth (how extreme the modulation is), and mix (wet/dry balance). Subtle settings add richness without calling attention to themselves. Extreme settings create the signature sounds associated with psychedelic rock, funk guitar, and electronic music.
- Chorus: Thickens and widens sound; works well on guitars, keys, and backing vocals
- Flanger: Creates a metallic sweep; effective on drums and synths for dramatic movement
- Phaser: Adds a swirling, frequency-notching effect; classic on electric piano and rhythm guitar
- Vibrato: Pitch modulation only; adds expressiveness to leads and vocals
- Tremolo: Volume modulation; creates rhythmic pulsing, especially on guitar and organ
Pro Tip: Start with a chorus depth below 30% and a rate under 1 Hz on any instrument you want to thicken. This adds stereo richness without the listener ever noticing the effect is there, which is exactly the goal.
3. What role EQ and filter effects play in frequency balance
EQ is defined as a frequency-shaping tool that boosts or cuts specific frequency ranges to correct tonal problems or sculpt the character of a sound. It is the most used processor in any mix, and for good reason. EQ shapes frequency balance through high-pass and low-pass filters that remove problem frequencies, as well as parametric bands that target precise ranges with adjustable bandwidth. Placing EQ first in the signal chain for corrective work is standard practice because it removes problems before other processors react to them.
| Filter type | Function | Common use |
|---|---|---|
| High-pass filter | Removes low frequencies below a set point | Cuts rumble and mud from vocals, guitars |
| Low-pass filter | Removes high frequencies above a set point | Softens harsh highs, creates telephone effect |
| Parametric EQ | Boosts or cuts a specific frequency with adjustable Q | Precise tonal shaping on any source |
| Graphic EQ | Fixed frequency bands with level faders | Live sound, broad tonal adjustments |
| Shelving EQ | Boosts or cuts all frequencies above or below a point | Air boost, low-end weight |
FabFilter Pro-Q 3 and the UAD API 550 are two of the most referenced EQ plugins in professional mixing, each offering a different character. Pro-Q 3 is surgical and transparent; the API 550 adds a musical, analog-style coloration. Choosing between them depends on whether you need correction or character. The Mixanalytic blog covers frequency shaping workflows in detail for producers who want to go deeper on EQ placement and technique.
4. How dynamics effects control levels and clarity
Dynamics effects are categorized into compressors, limiters, noise gates, and expanders, each serving a distinct role in controlling volume and noise across a mix. A compressor reduces the dynamic range between the loudest and quietest moments of a signal, which adds perceived loudness and controls peaks. A limiter is a compressor with an extreme ratio, typically 10:1 or higher, used to prevent clipping. A noise gate mutes the signal when it falls below a set threshold, removing background noise between notes.
Parallel compression is one of the most effective popular mixing techniques for drums and bass. You blend a heavily compressed copy of the signal with the unprocessed original, which adds punch and density while preserving the natural transients. The Waves SSL G-Bus Compressor and FabFilter Pro-C 2 are the go-to choices for bus and track compression respectively.
- VCA compressors (SSL, API): Fast, punchy, ideal for drums and buses
- FET compressors (1176-style): Aggressive character, excellent on vocals and snare
- Optical compressors (LA-2A-style): Smooth, musical response, great for vocals and bass
- Limiters: Brick-wall protection for master bus and individual tracks
- Noise gates: Silence bleed and background noise between musical phrases
Pro Tip: Set your noise gate’s release time to match the natural decay of the instrument. A gate that closes too fast creates an unnatural, chopped-off sound that draws more attention to the processing than the performance.
5. What saturation and distortion effects do for your mix
Saturation is defined as the process of adding subtle harmonic content to a signal, emulating the natural behavior of analog tape, tubes, and transformers. Saturation adds harmonics that create warmth and presence, which is fundamentally different from harsh distortion that clips and degrades the signal. The distinction matters because saturation is additive and musical, while hard clipping is destructive and often unpleasant unless used intentionally for creative effect.
Plugins like Soundtoys Decapitator and iZotope’s RC-20 Retro Color are widely used for saturation and lo-fi distortion respectively. Decapitator models five different analog saturation styles; RC-20 adds noise, wobble, and bitcrushing for deliberate degradation. Bitcrushers reduce the bit depth and sample rate of a signal, creating the crunchy, pixelated texture associated with early video game audio and lo-fi hip-hop.
- Tape saturation: Warm, smooth harmonic addition; ideal for mix buses and drums
- Tube saturation: Even-harmonic richness; excellent on vocals and bass
- Transistor saturation: Odd-harmonic grit; adds edge to guitars and synths
- Hard clipping: Aggressive, square-wave distortion; used for effect on guitars and electronic elements
- Bitcrushing: Digital degradation; creates lo-fi, retro textures
Pro Tip: Apply light tape saturation to your low-frequency bus before compression. The harmonic content it adds makes bass elements feel fuller and more present in the mix without requiring a volume increase.
6. How spatial and stereo effects create width and depth
Spatial effects are processors that manipulate the stereo field to create a sense of width, depth, and three-dimensional placement in a mix. The Haas effect uses delays under 30 ms to create fused stereo width, meaning the listener perceives a single, wider sound rather than two distinct sources. Delays beyond that threshold produce audible echoes and phase problems that compromise mono compatibility. Precision matters here more than with almost any other effect type.
Stereo imagers like the Waves S1 Stereo Imager and Logic Pro X’s Direction Mixer allow you to widen or narrow the stereo field of individual tracks or buses. Over-widening is a common mistake. When a mix is played back in mono, excessively widened elements can cancel out or disappear entirely, which is a real problem for streaming platforms and club sound systems. The spatial audio techniques covered by Mixanalytic address mono compatibility directly alongside stereo placement strategies.
- Use stereo widening on mid-range elements like guitars and keys, not on bass or kick
- Keep low frequencies below 200 Hz in mono to maintain punch and clarity
- Apply Haas delays of 10 to 20 ms for width without phase risk
- Check your mix in mono regularly using a mono button on your master bus
- Route spatial effects as sends when multiple tracks share the same stereo environment
Pro Tip: Before printing your final mix, fold it to mono and listen for any elements that lose energy or disappear. If something vanishes, reduce the stereo width on that track until it survives the mono check.
Key takeaways
Mastering the types of audio effects in mixing requires understanding both the function of each processor and the routing method that gives you the most control over the result.
| Point | Details |
|---|---|
| Route time-based effects as sends | Reverb and delay on aux buses saves CPU and keeps spatial character consistent. |
| Match modulation timing to intent | Chorus uses 20 to 50 ms delay; flanger uses 0.5 to 15 ms for its metallic character. |
| Place EQ first for correction | Corrective EQ before compression removes problems before dynamics processing reacts to them. |
| Use saturation before compression on bass | Light harmonic addition makes low frequencies feel fuller without a volume increase. |
| Always check spatial effects in mono | Over-widened elements cancel in mono playback, a critical issue for streaming and club systems. |
Why routing is the skill most producers overlook
Most producers spend their time chasing the right plugin. The real leverage is in how you route the effect. I’ve reviewed mixes where every individual element sounded great in solo but the full mix felt washy and undefined. The culprit was almost always reverb and delay applied as inserts on every track instead of shared sends. Sends preserve the dry signal and allow wet/dry mixing with CPU efficiency, while inserts process the entire signal inline. When every track has its own reverb insert, you get ten different room sounds competing for the same space.
The pre-fader versus post-fader send decision is equally underestimated. Pre-fader sends keep the effect audible even when you pull the fader down, which matters for reverb tails on vocals during a fade-out. Post-fader sends are the default for most situations because the effect level tracks the source level automatically. Knowing which to use and when is the kind of detail that separates a mix that holds together from one that falls apart during automation.
My honest recommendation: build one shared reverb bus and one shared delay bus before you place a single effect plugin. Every track that needs space feeds those buses. This forces you to make intentional decisions about how much space each element gets, rather than drowning each track in its own private reverb. The result is a mix where the spatial effects feel like a unified environment rather than a collection of separate rooms.
— Uygar
Analyze your mix with Mixanalytic’s AI tools
Understanding the types of audio effects in mixing is only half the work. Knowing whether your current mix actually uses them well is where most producers get stuck.

Mixanalytic’s free mix analyzer runs your track through 17 AI-powered analysis modules covering frequency balance, dynamic range, and stereo field in minutes. You get specific feedback on whether your low end is muddy, your stereo image is too wide for mono playback, or your dynamics are over-compressed. For producers working on spatial audio and immersive formats, the immersive audio guide on the Mixanalytic site covers depth and width placement in detail. Upload your mix and get the kind of feedback that used to require a professional mastering engineer.
FAQ
What are the main types of audio effects used in mixing?
The main categories are time-based effects (reverb and delay), modulation effects (chorus, flanger, phaser), EQ and filters, dynamics processors (compressors, limiters, gates), saturation and distortion, and spatial effects. Each category serves a distinct function in shaping tone, space, and dynamics.
Should reverb and delay be used as inserts or sends?
Reverb and delay are most effectively used as send/auxiliary effects because this preserves the dry signal, allows shared processing across multiple tracks, and reduces CPU load. Inserts process the entire signal inline and are better suited to modulation and dynamics effects.
What is the difference between saturation and distortion?
Saturation adds subtle harmonic content that creates warmth and perceived loudness without degrading the signal, while hard distortion clips the waveform aggressively and introduces harsh artifacts. Saturation emulates analog tape and tube behavior; distortion is used for deliberate grit and character.
How does the Haas effect create stereo width?
The Haas effect uses delays under 30 ms to make the listener perceive a single, wider sound source rather than two distinct signals. Delays beyond 30 ms produce audible echoes and phase cancellation that can cause problems in mono playback.
What is parallel compression and when should you use it?
Parallel compression blends a heavily compressed signal with the unprocessed original, adding punch and density while keeping natural transients intact. It is most effective on drums and bass, where you want the energy of heavy compression without losing the attack of the original performance.