
Audio Engineer Workflow Optimization: A Producer’s Guide

Poor workflow habits don’t just slow you down. They actively hurt your mixes. Audio engineer workflow optimization, the practice professionals call session management, is the difference between spending three hours hunting for the right take and spending that time actually mixing. Disorganized DAW sessions create wrong-take errors, sample-rate mismatches, and the kind of cognitive overload that makes creative decisions harder. This guide covers the specific systems that fix those problems: session organization, signal routing, latency management, export conventions, and template strategies that compound in value every time you open a new project.
Table of Contents
- Key takeaways
- Audio engineer workflow optimization starts with session structure
- Signal flow and routing best practices
- Managing latency and buffer settings
- Exporting and handing off mixes
- Templates, version control, and backups
- My honest take on what workflow optimization actually means
- How Mixanalytic fits into a tight workflow
- FAQ
Key takeaways
| Point | Details |
|---|---|
| Standardize session structure | Use date prefixes, version suffixes, and color coding to cut navigation time and reduce errors. |
| Match buffer size to task | Record at low buffer sizes under 128 samples, then raise to 512 or 1024 during mixing for CPU stability. |
| Export with precision | Deliver 24-bit/48kHz WAV files starting at bar one, beat one, with per-track peak checks before handoff. |
| Build stage-specific templates | Separate templates for tracking, editing, mixing, and mastering reduce setup time and decision fatigue. |
| Version control protects work | Never overwrite a “Final” file. Increment saves after every milestone to preserve your project history. |
Audio engineer workflow optimization starts with session structure
The single biggest time drain in any DAW session is not a slow plugin or an underpowered CPU. It is not knowing where anything is. Disciplined session organization reduces cognitive load and prevents costly errors like loading the wrong take or mismatching sample rates mid-collaboration.
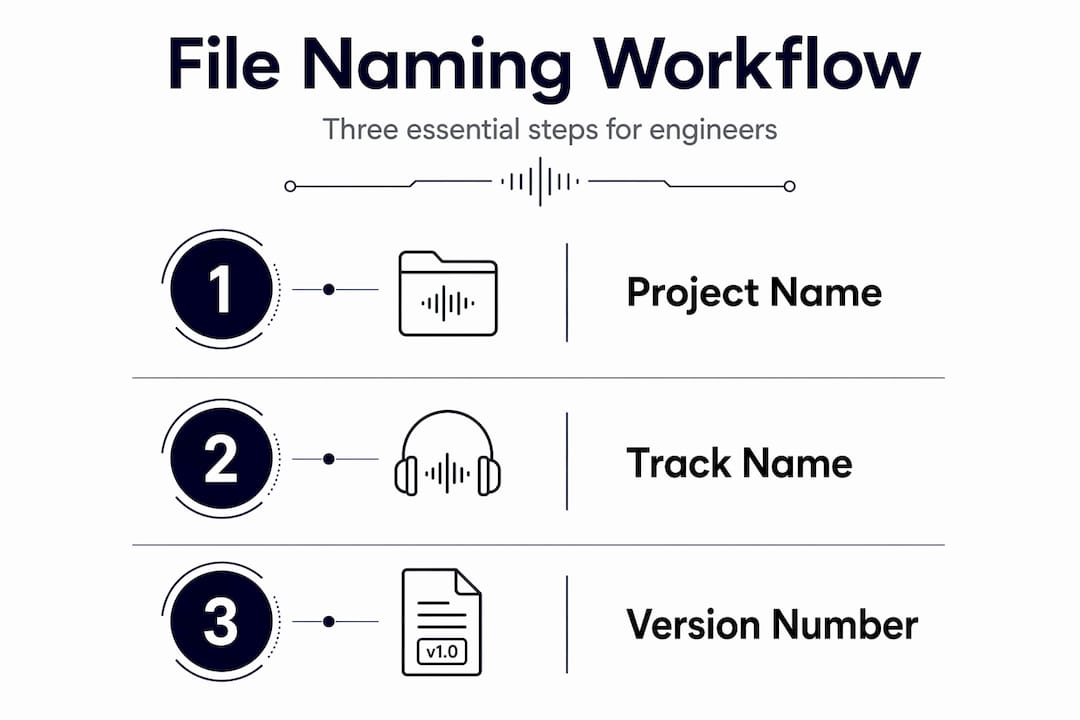
Start with a standardized folder structure for every project. Your root folder should contain subfolders for Audio, MIDI, Exports, References, and Project Files. Inside each, file names should answer three questions: what is it, when was it made, and which version is it. A format like "20260315_TrackName_v003.wav` sorts chronologically by default and tells you everything at a glance.
Track naming inside your DAW deserves the same rigor. Consistent color coding and naming accelerates workflow by making sessions visually navigable the moment you open them. Rename inherited tracks immediately. A track called “Audio 07” is a liability. A track called “KickIn_v2” is an asset.
Color coding should follow a system you never deviate from. Drums in one color, bass in another, guitars, synths, vocals, and effects each get their own. Group related tracks into folders and use VCA or group faders to control them together. When you receive a session from another engineer, the first 15 minutes should be spent renaming and recoloring, not the first hour of your mix.
Pro Tip: Assign keyboard shortcuts to your most-used commands: track creation, bounce in place, plugin bypass, and zoom levels. Automating these micro-decisions adds up to hours saved per month.
Here is a comparison of organized versus disorganized session habits and their practical impact:
| Habit | Organized session | Disorganized session |
|---|---|---|
| Track naming | Descriptive, versioned names | “Audio 01”, “Audio 02” |
| Color coding | Consistent per instrument type | Random or none |
| Folder structure | Standardized across all projects | Ad hoc per project |
| Version control | Incremental saves with suffixes | Single overwritten file |
| Session load time | Fast, predictable | Slow, requires hunting |
Signal flow and routing best practices
Logical track order is not just an aesthetic preference. It is a functional one. Arrange your session top to bottom in the order you would mix: drums, bass, guitars, synths, vocals, effects returns, and master bus. This mirrors how your attention naturally moves during a mix and reduces the time spent scrolling.
ALL CAPS naming for buses and aux sends is one of the most underused conventions in audio production efficiency. When your session has 60 tracks, being able to instantly spot “DRUM BUS,” “VOCAL BUS,” and “FX RETURN” without reading every label saves real time. It also prevents the embarrassing mistake of inserting a plugin on a send instead of a bus.
Use send and return routing for time-based effects like reverb and delay. Inserting a reverb directly on a vocal track wastes CPU and locks you into one blend per track. A shared reverb return lets you send any track to the same space, keeps your processing consistent, and makes recall faster.
Gain staging deserves attention before you touch a single plugin. Every track entering your mix should hit around negative 18 dBFS on average, leaving headroom for dynamics and plugin processing. Hot signals going into compressors or saturators behave unpredictably and make it harder to trust your ears.
- Set input gain so that average levels sit near negative 18 dBFS before any processing
- Use mono tracks for mono sources: kick, snare, bass DI, lead vocals
- Reserve stereo tracks for stereo sources: room mics, synthesizers, stereo returns
- Keep parallel processing on dedicated duplicate tracks or aux sends, not on the original
Pro Tip: Label every bus and send before you start mixing. Spending five minutes on this at session start prevents 30 minutes of confusion when you are deep in a mix and cannot remember where a signal is going.
Managing latency and buffer settings
Latency is the delay between when audio enters your interface and when you hear it back. Buffer size controls the tradeoff between latency and CPU load. Getting this wrong in either direction creates real problems: too low a buffer during a complex mix and your session crashes; too high a buffer during tracking and the performer cannot play in time with what they hear.
Latency optimization is a dynamic setting based on your work stage. Here is a practical approach:
- Tracking: Set buffer size to 64 or 128 samples. This keeps latency under 10ms, which most performers cannot detect. Use native ASIO drivers on Windows for the lowest possible round-trip time.
- Editing: Move to 256 samples. You are not monitoring live input, so the extra headroom helps with playback stability while you comp and clean up takes.
- Mixing: Set buffer to 512 or 1024 samples. CPU-heavy plugin chains need this headroom. You are not recording live input, so latency is irrelevant.
- Mastering: Stay at 512 or 1024. Same reasoning as mixing, with the added benefit of stable metering reads.
Pro Tools buffer size settings operate across two latency domains: a low-latency domain for live monitoring and a high-latency domain for plugin-heavy processing. Understanding which domain your tracks fall into tells you exactly why some plugins introduce timing offsets.
Delay compensation is the DAW’s answer to plugin latency. When a plugin introduces processing delay, the DAW delays less-latent signal paths to match the slowest one, preserving phase and timing coherence across your mix. Always verify that automatic delay compensation is enabled, especially on sessions with heavy parallel processing chains.

Pro Tip: Save separate session templates for tracking and mixing with the correct buffer sizes pre-configured. Opening the right template means you never have to remember to change the setting manually.
Exporting and handing off mixes
A clean export is the last line of defense before your work leaves your studio. Export errors are invisible until someone else opens the files, and fixing them after the fact costs everyone time.
Standard export conventions call for 24-bit WAV files at 48kHz, with each file starting at bar one, beat one. Starting all files at the same position means stems line up perfectly in any DAW without manual alignment.
- Export mono sources as mono files. A mono kick drum exported as a stereo file doubles the file size and can cause phase issues if the recipient sums to mono
- Name files clearly:
ProjectName_KickDrum_v1.wav, notbounce3final.wav - Check per-track peak levels after routing and before delivery. True Peak clipping on individual tracks happens even when your mix bus reads fine, because hot VSTi presets or gain staging assumptions compound at the track level
- Include a text file with project metadata: tempo, key, sample rate, bit depth, and any special instructions
| Export element | Recommended standard | Common mistake |
|---|---|---|
| Bit depth | 24-bit | Exporting at 16-bit for stems |
| Sample rate | 48kHz (or match session) | Mismatched sample rates |
| File start | Bar 1, beat 1 | Files starting at different positions |
| Mono sources | Exported as mono | Stereo files for mono sources |
| Peak headroom | No True Peak clipping | Clipping on individual tracks |
Export handoffs require clear communication with your collaborator or mastering engineer. Confirm format preferences before you bounce anything.
Templates, version control, and backups
Templates that reflect each session stage yield compounding speed increases over time. A tracking template should have armed inputs, headphone mix buses, a click track, and reference track routing already in place. A mixing template should have your standard bus structure, metering plugins, and reference loudness targets loaded. You should never spend the first 20 minutes of a session rebuilding the same routing from scratch.
Version control is where most producers cut corners and pay for it later. Here is a practical policy:
- Save a new version after every significant milestone: end of tracking day, after comping, after rough mix, after revision notes.
- Use explicit suffixes:
v001,v002,v003. Never use “Final,” “Final2,” or “FinalFINAL” as your only versioning system. - Never overwrite previous files. Treat each saved version as a unique state marker. If a client asks to go back to the mix from two weeks ago, you need that file.
- Store projects in cloud storage with a standardized folder structure and controlled sharing permissions. Local backups fail. Cloud backups do not disappear when a hard drive does.
- Back up your template library separately. Losing your templates is like losing your tools. Rebuilding them from memory is painful and imprecise.
Pro Tip: Set a calendar reminder to back up your project drive every Friday. Make it a non-negotiable end-of-week habit, the same way you archive session notes or send invoices.
File naming must answer what the file is, when it was made, and which version it represents. A name that answers all three questions is a name you will thank yourself for six months later.
My honest take on what workflow optimization actually means
I have seen engineers with incredible ears produce mediocre mixes because they spent half the session managing chaos instead of making decisions. And I have seen technically average engineers consistently deliver clean, professional results because their sessions were airtight from the start.
The misconception I run into most often is that workflow discipline is a constraint on creativity. It is the opposite. When your session is organized, your color coding is consistent, and your templates are loaded, your brain stops spending energy on logistics. That energy goes directly into the creative work.
The other thing people underestimate is the compounding cost of bad session hygiene. One mislabeled file costs you five minutes. Multiply that by 40 tracks, three revision rounds, and a collaborator who cannot find the right stem, and you have lost a full day of work. The mix problems that slip through to mastering are almost always downstream consequences of workflow gaps upstream.
My advice: do not overhaul everything at once. Pick one system, session naming or template building or buffer management, and make it automatic before adding the next. Gradual adoption sticks. Wholesale reinvention usually collapses after two weeks.
— Uygar
How Mixanalytic fits into a tight workflow
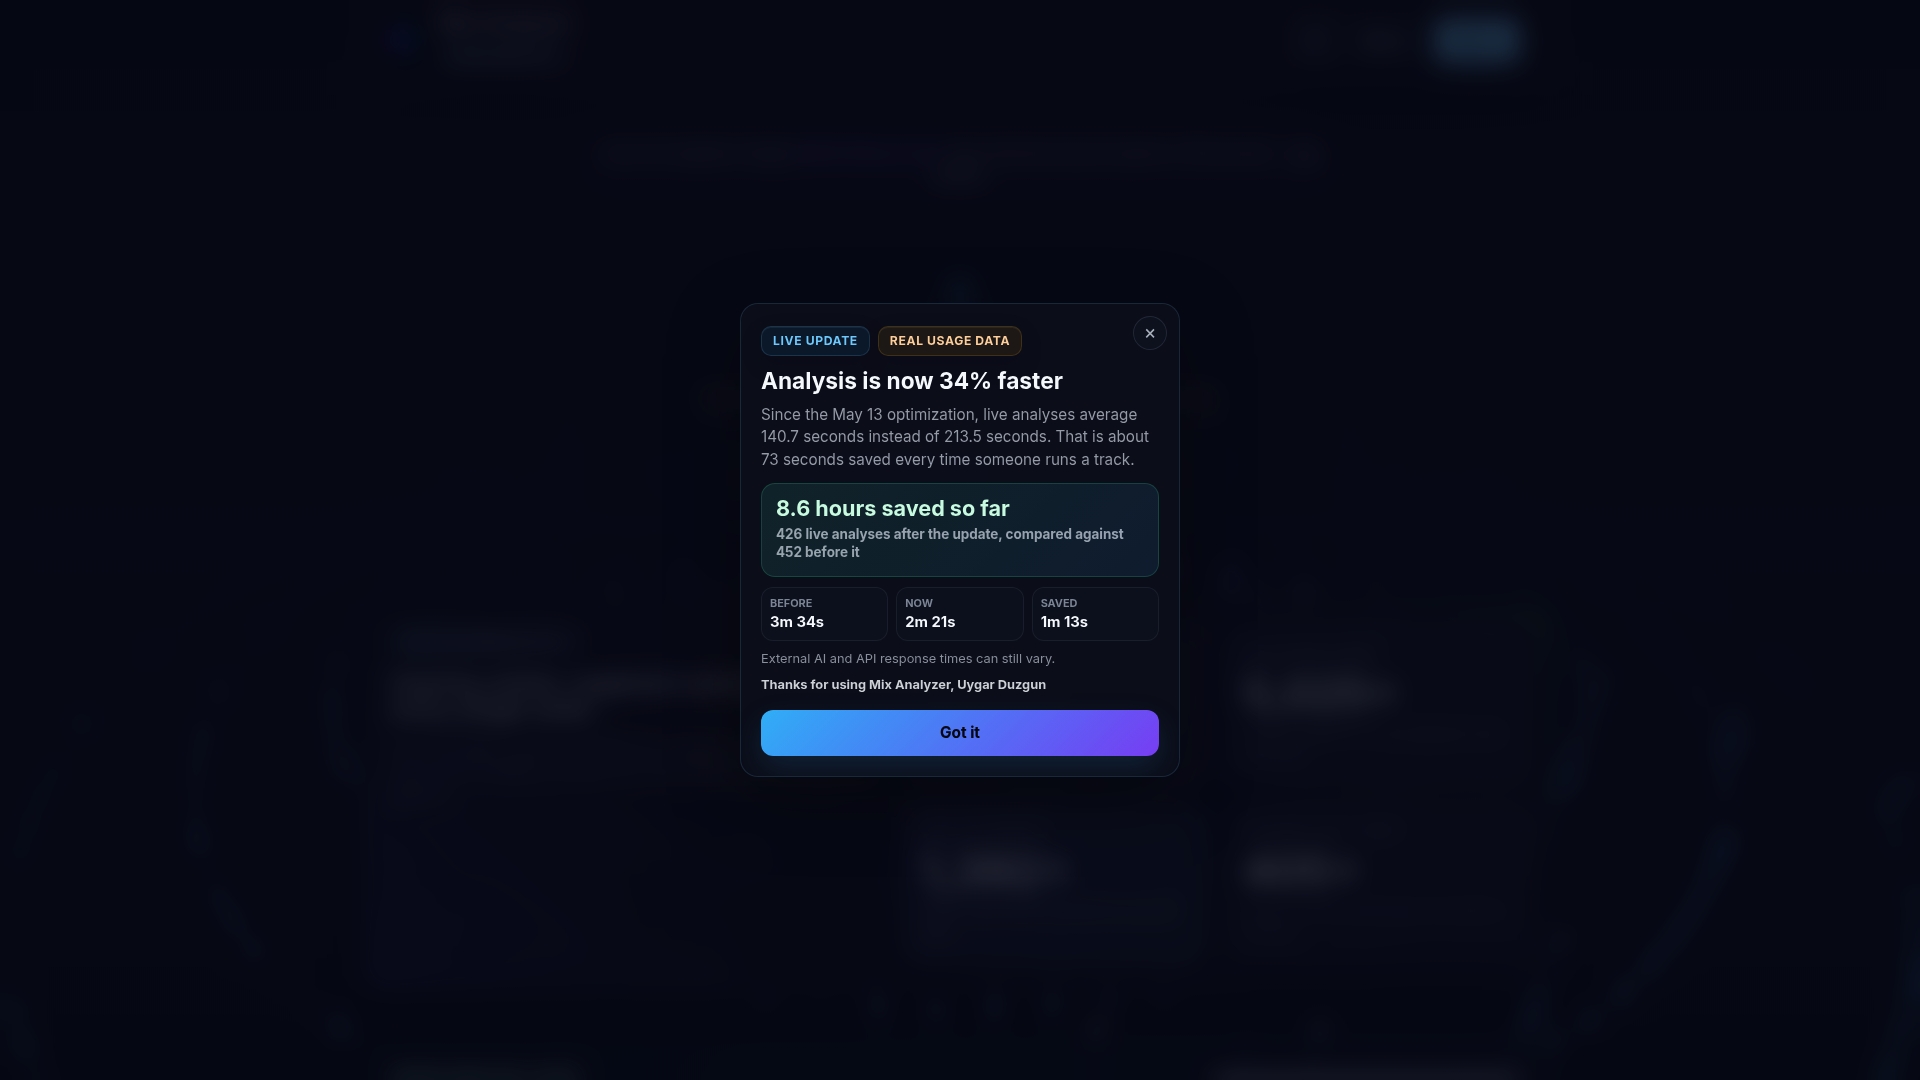
Once your session organization, routing, and export conventions are solid, the next question is whether your actual mix is ready for the world. That is where Mixanalytic comes in. The platform runs AI-powered mix analysis across 17 modules covering frequency balance, dynamic range, stereo field, genre fit, and mood, giving you professional-grade feedback in minutes rather than days. It is built for engineers and producers who want fast, specific feedback without sending files to a mastering house just to find out the low end is muddy.
Mixanalytic offers three free analyses per month, with token packs starting at $5 and a Supporter plan at $25 per month for heavier use. If you are already running a disciplined workflow, Mixanalytic becomes the verification layer that confirms your mix is ready before it leaves your studio.
FAQ
What is the ideal buffer size for recording vs. mixing?
Use 64 to 128 samples during recording to keep latency under 10ms, then raise to 512 or 1024 samples during mixing for CPU stability. Adjust between sessions, not mid-session.
How should I name files for a mix handoff?
Use a format that includes the project name, track name, and version number, such as ProjectName_KickDrum_v1.wav. All files should start at bar one, beat one, and be exported at 24-bit/48kHz WAV.
Why do individual tracks clip even when the mix bus looks fine?
True Peak clipping on individual tracks occurs because hot VSTi presets or gain staging assumptions compound at the track level independently of the master bus. Always check per-track peak levels before delivery.
How often should I save new session versions?
Save a new incremented version after every significant milestone: end of a tracking day, after comping, after a rough mix, and after each round of client revisions. Never overwrite a previous version.
What should a mixing template include?
A mixing template should have your standard bus structure pre-routed, metering plugins loaded, reference loudness targets set, and color coding applied. Templates with pre-built routing reduce setup time and decision fatigue across every new project.